NotePlanetScale now supports Postgres. This guide is for migrating from Postgres to PlanetScale’s Vitess product. You can still use these scripts if you would like to utilize Vitess. If you prefer to stay on Postgres, sign up for the waitlist of the PlanetScale for Postgres private preview.
Methodology
The scripts in this guide leverage AWS Database Migration Service to handle conversions between Postgres and MySQL types. Even if you are migrating from a non-AWS Postgres provider, such as Neon or Supabase, you will still need an AWS account to perform the migration. DMS acts as a middle-man between your Postgres source database and PlanetScale. All of your data will pass through the DMS server which will handle type conversions before passing the data on to your PlanetScale database. After the initial data copy, DMS will continue to replicate changes from your source to the target until you stop it. It is up to you to determine how to handle the cut over between the two in your application.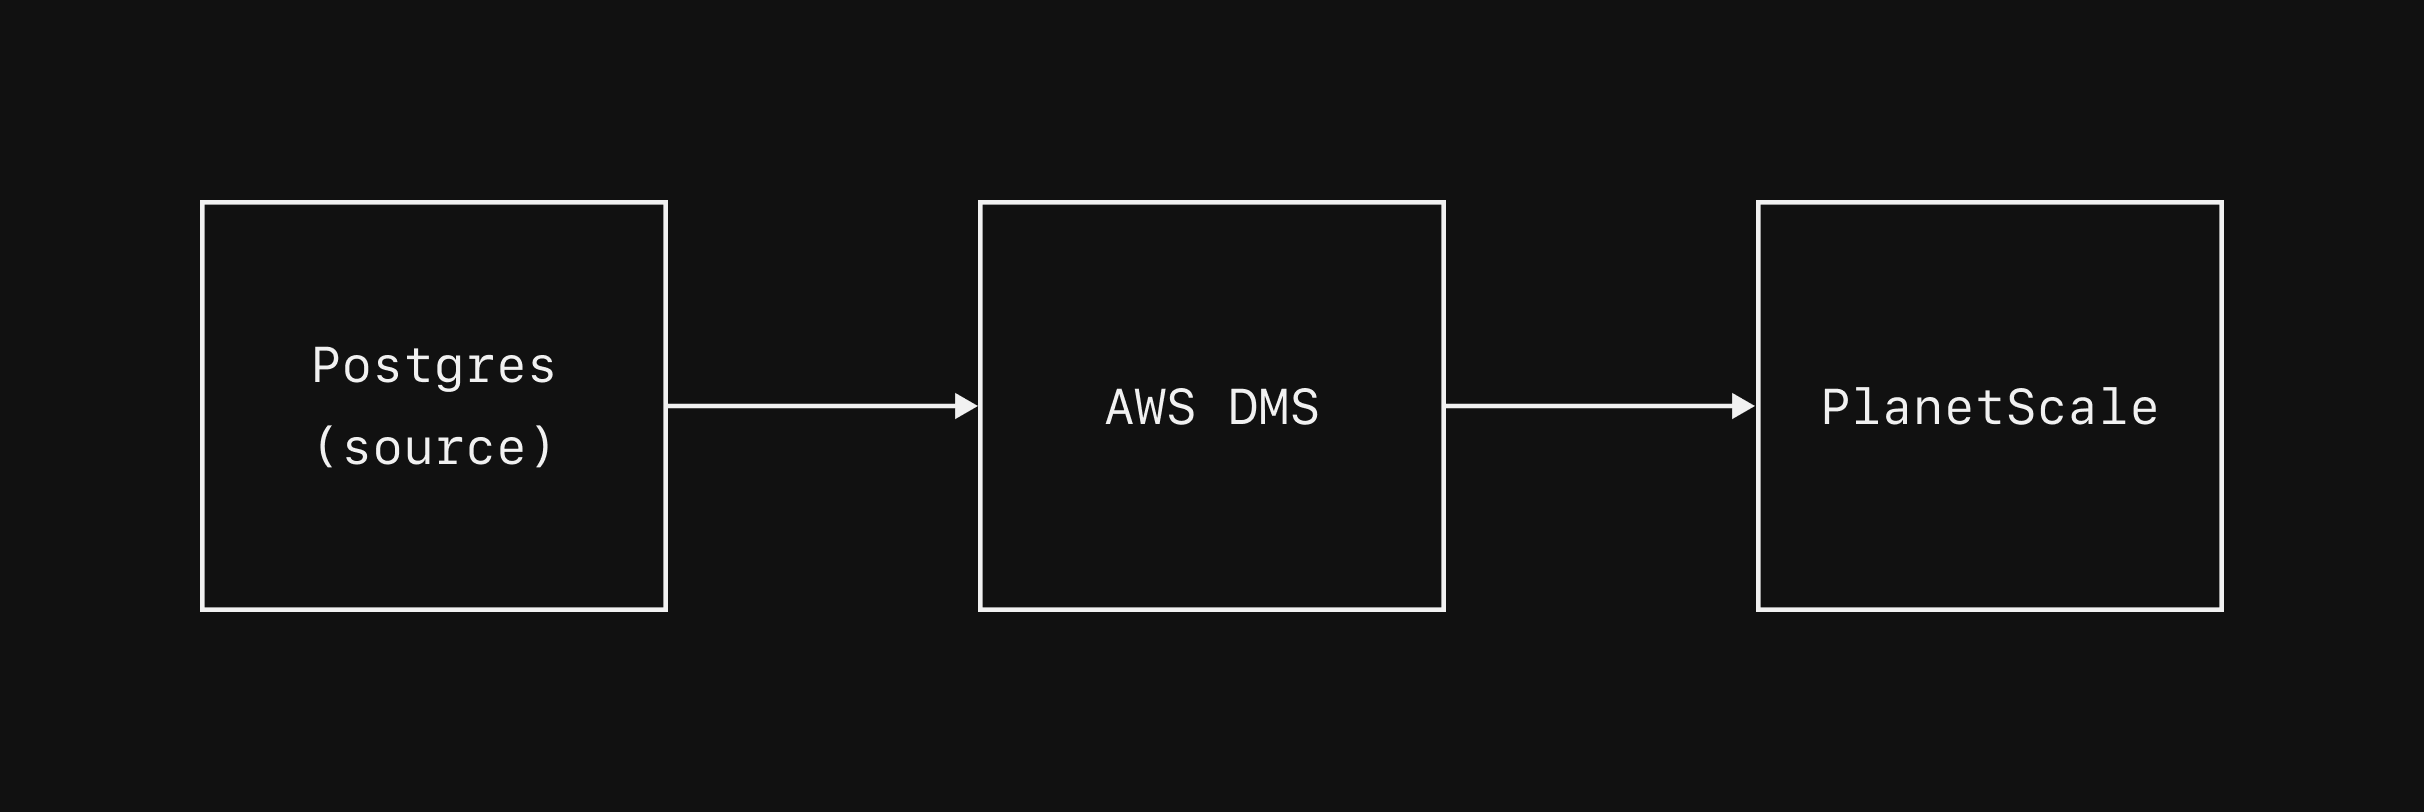
Prerequisites
- An AWS account
- An empty PlanetScale database as the target
- The AWS CLI
These import scripts create and modify resources in your AWS account.
Before executing, you should read through the scripts to ensure you are comfortable with the actions they will take.
You will also be billed in AWS for the resources it creates, which include:
- 1 DMS replication task
- 1 DMS replication instance
- 1 DMS replication subnet group
- 2 DMS endpoints
Importing a database
1. Prepare Postgres for migration
Before beginning a migration to PlanetScale, you should ensure the following flags are set on your Postgres database.| flag name | flag value |
|---|---|
| logical_replication | 1 |
| shared_preload_libraries | pglogical |
You should not make any schema changes to the source database during an import.
2. Install the AWS CLI
The migration scripts we provide rely on AWS Database Migration Service. To use the scripts, you need to download and install the AWS CLI. You will also need to authenticate into the AWS account that you would like to run the migration from. This step is necessary, even if you are importing from a non-AWS Postgres provider. Go ahead and download and install the AWS CLI. On MacOS, you can run:3. Authenticate into AWS
After installing the CLI, you must authenticate into the AWS account that you intend to run the import scripts in. There are several ways to authenticate. You can find instructions in the AWS documentation. We recommend you authenticate with short-term credentials. The authenticated account will need permissions to both create and modify DMS resources, security groups, and parameter groups.4. Customizing import of large tables
If you have large tables that are in need of a parallel import, you should specify custom rules for these to give to DMS. For example, perhaps we have a large table nameditems that contains 1 million rows.
We would like DMS to import this in parallel with multiple threads.
To configure this, create a json file named custom-table-mappings.json and place this in there:
item_id ranges 0-250k, 250k-500k, 500k-750k, and 750k+ in separate threads.
You can add multiple rules here if there are multiple large tables.
You do not need to specify custom rules for small tables.
If you use custom rules, ensure you pass this file to the import.sh script in the next step via --table-mappings custom-table-mappings.json.
Learn more about the options available to you here in the AWS table mappings documentation.
5. Begin the import
Check out the migration-scripts repository, and navigate to thepostgres-planetscale directory.
import.sh script does the following:
1
Creates a new DMS source and target using the credentials you provide
2
Creates a DMS import instance (a server to handle the migration)
3
Creates / modifies the subnets so the databases can communicate with DMS
4
Sets up rules for how to handle the migration and how to map tables between the source and target
5
Begins the DMS migration task to copy data between the two instances
6
After initial data copy is complete, continues to replicate the data between the instances until you are ready to stop the task
import.sh script.
You will need to provide this with a unique identifier for this import, as well as the connection credentials for both the source Postgres database and the target PlanetScale database.
NoteIf you are importing from Supabase, the scripts will not work with a transaction pooler or session pooler connection.
You must use a direct connection over ipv4.
In order to use this, you must be on the pro plan or greater, and pay for the ipv4 connection upgrade.
After doing so, use the direct connection credentials and host when using
import.sh.If you are importing from Neon, You must use --tls mode when importing from Neon.
This sets SSL_MODE="require" on the connection, a necessity for Neon.PGtoPSImport01.
The variables prefixed with PG_ are for the Postgres source, and the ones prefixed with PS_ are for the PlanetScale target.
Running the script like this will give you occasional log messages indicating which phase of the import process it is at.
If you want full debug mode, including each command the script executes, add the --debug flag:
--debug in case you encounter any issues needing debugging.
6. Completing the import
Theimport.sh script can take upwards of 20 minutes to prepare all of the resources before even beginning the import.
After this, the time for the import itself varies widely depending on the size and load of your database.
You should monitor the progress of the migration by comparing row counts in PlanetScale to ones from the source.
Once the migration is complete, it is up to you to determine when you want to cut over your application to use PlanetScale as your primary database instead of the old Postgres source.
Before doing this, you should ensure all of your queries are updated to work properly with PlanetScale and do some performance testing.
If you encounter performance issues, you likely need to add indexes. Use PlanetScale Query Insights to discover and improve poor performing queries.
7. Cleaning up the import
When you have fully switched all traffic over to PlanetScale and are comfortable stopping the replication between Postgres and PlanetScale, you can use thecleanup.sh script to delete the DMS resources that import.sh created.
All you have to provide is the --identifier that you used when starting the import.
Resolving errors
We have designed these scripts to run as generally as possible and have tested them on a variety of platforms. Even so, you may encounter errors for a variety of reasons. In some cases, theaws command that fails will produce a useful error message in the script output, which you can take action on as needed.
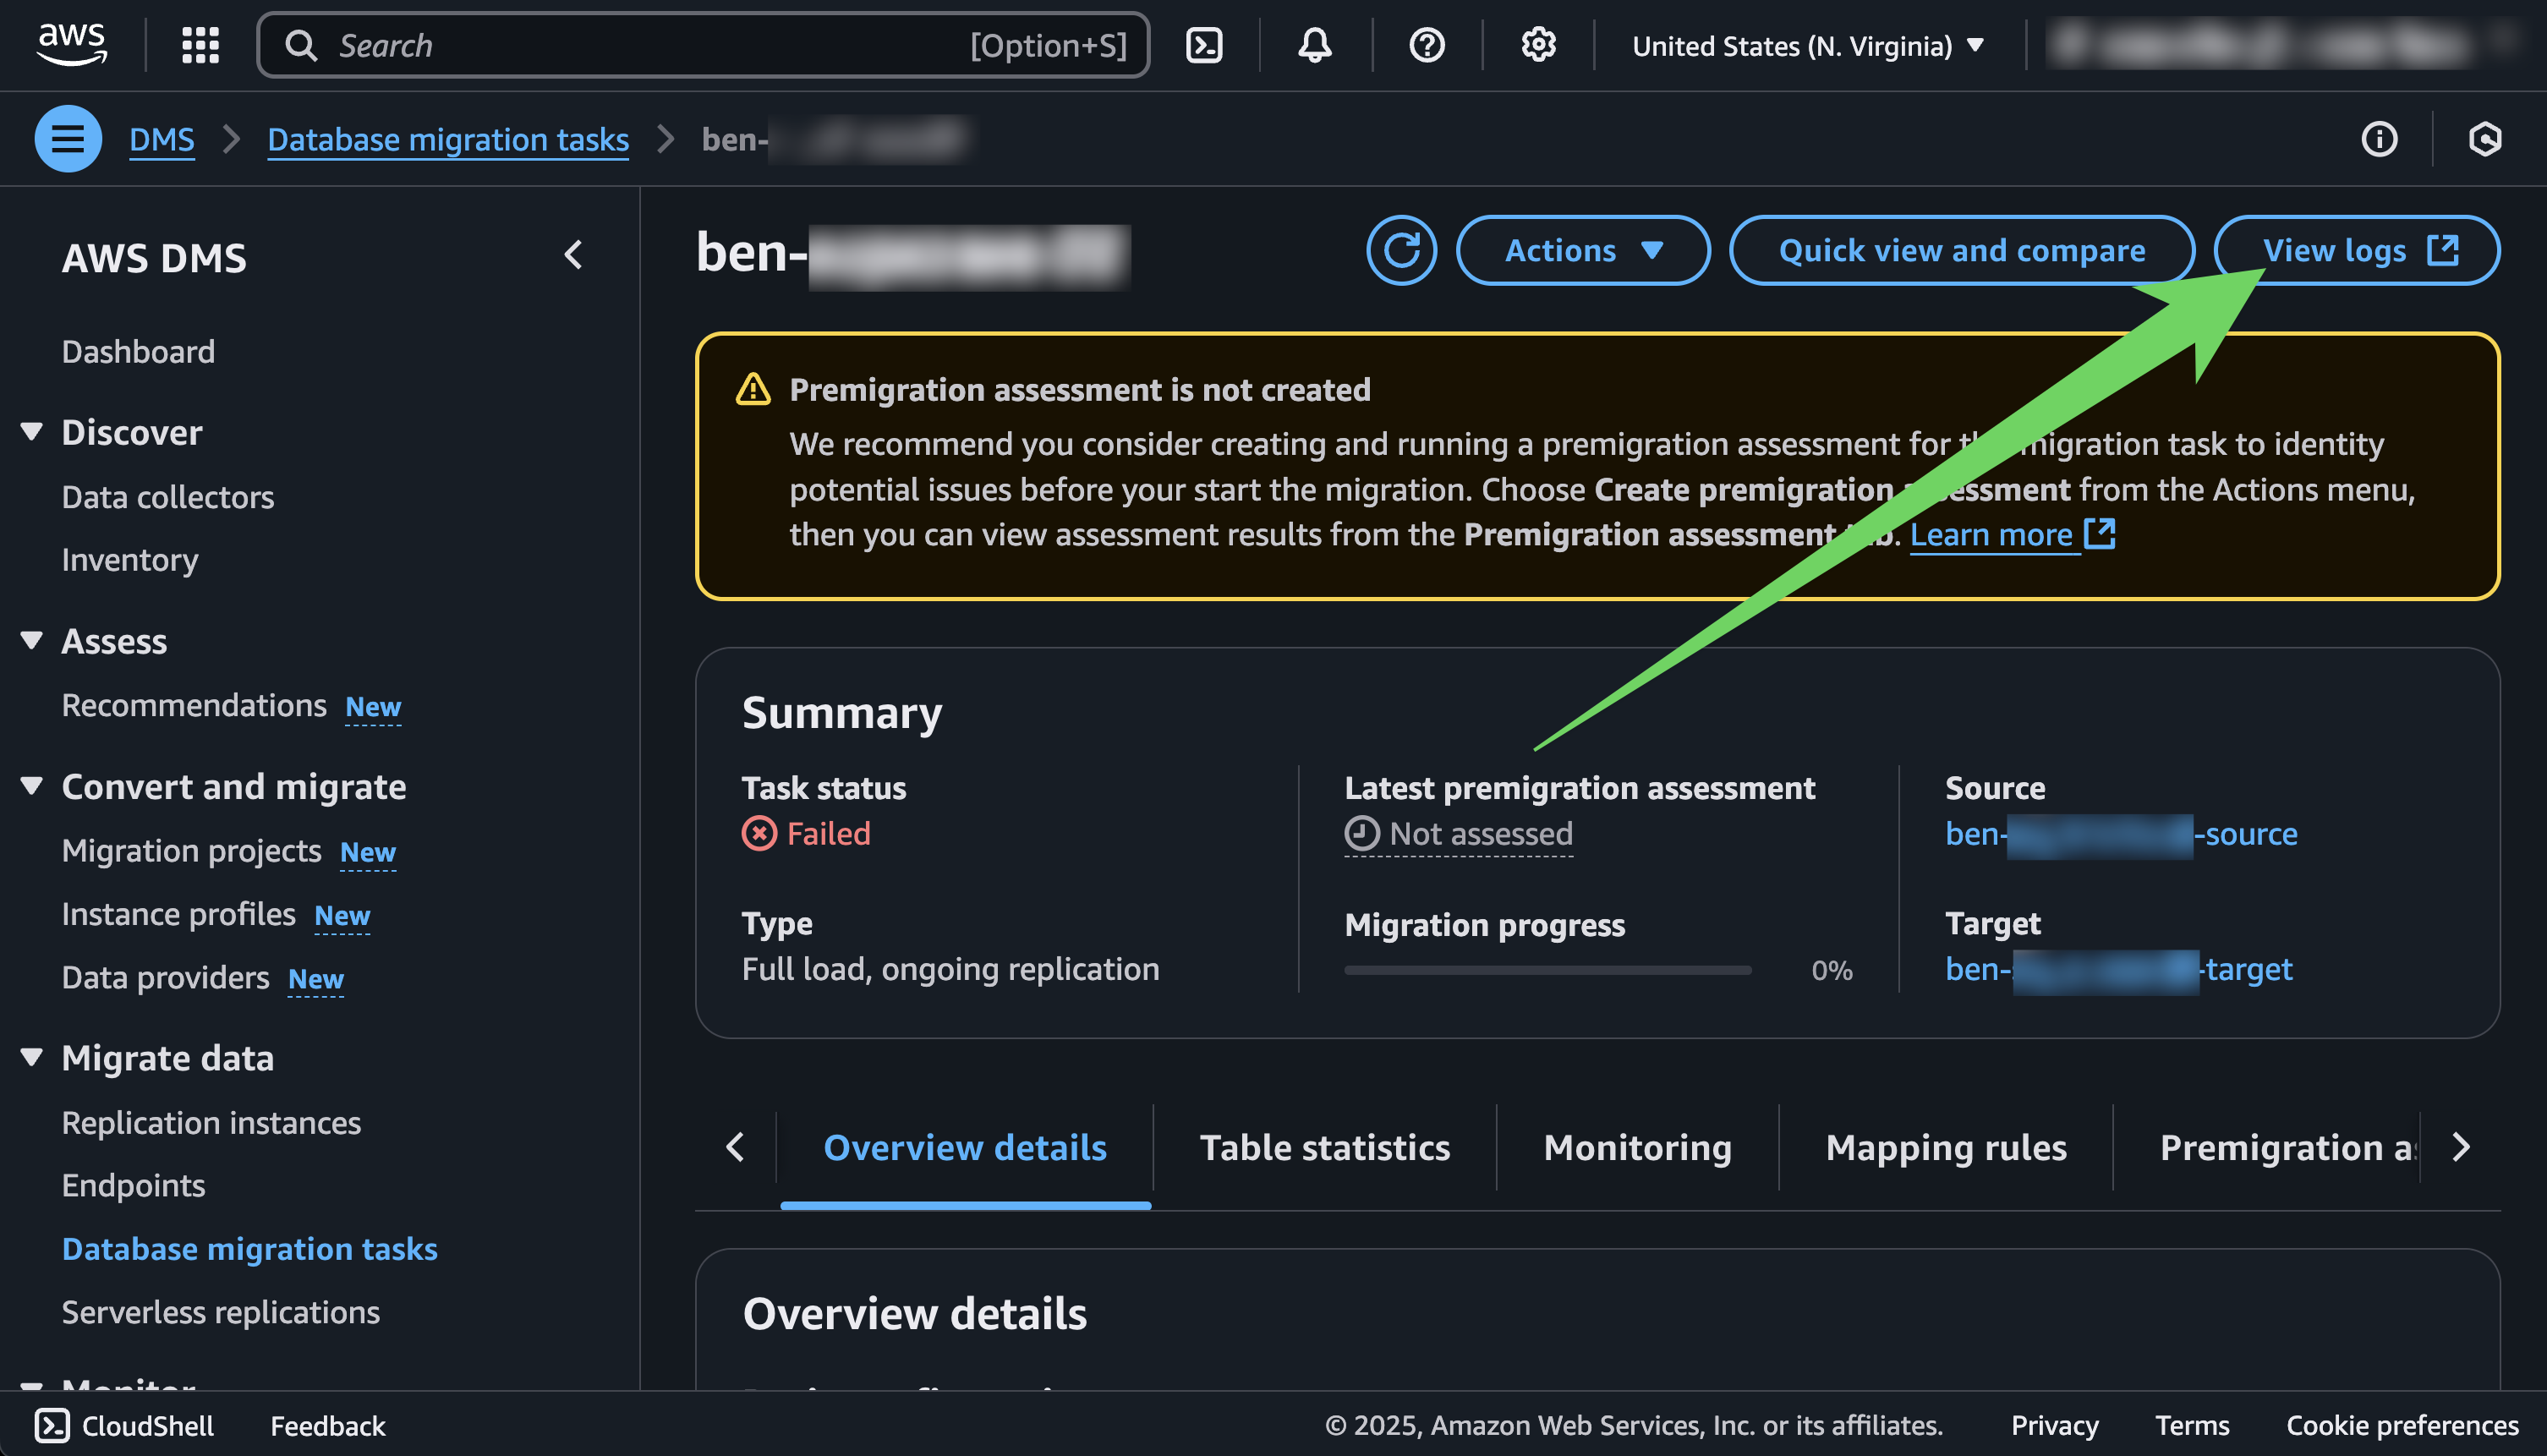
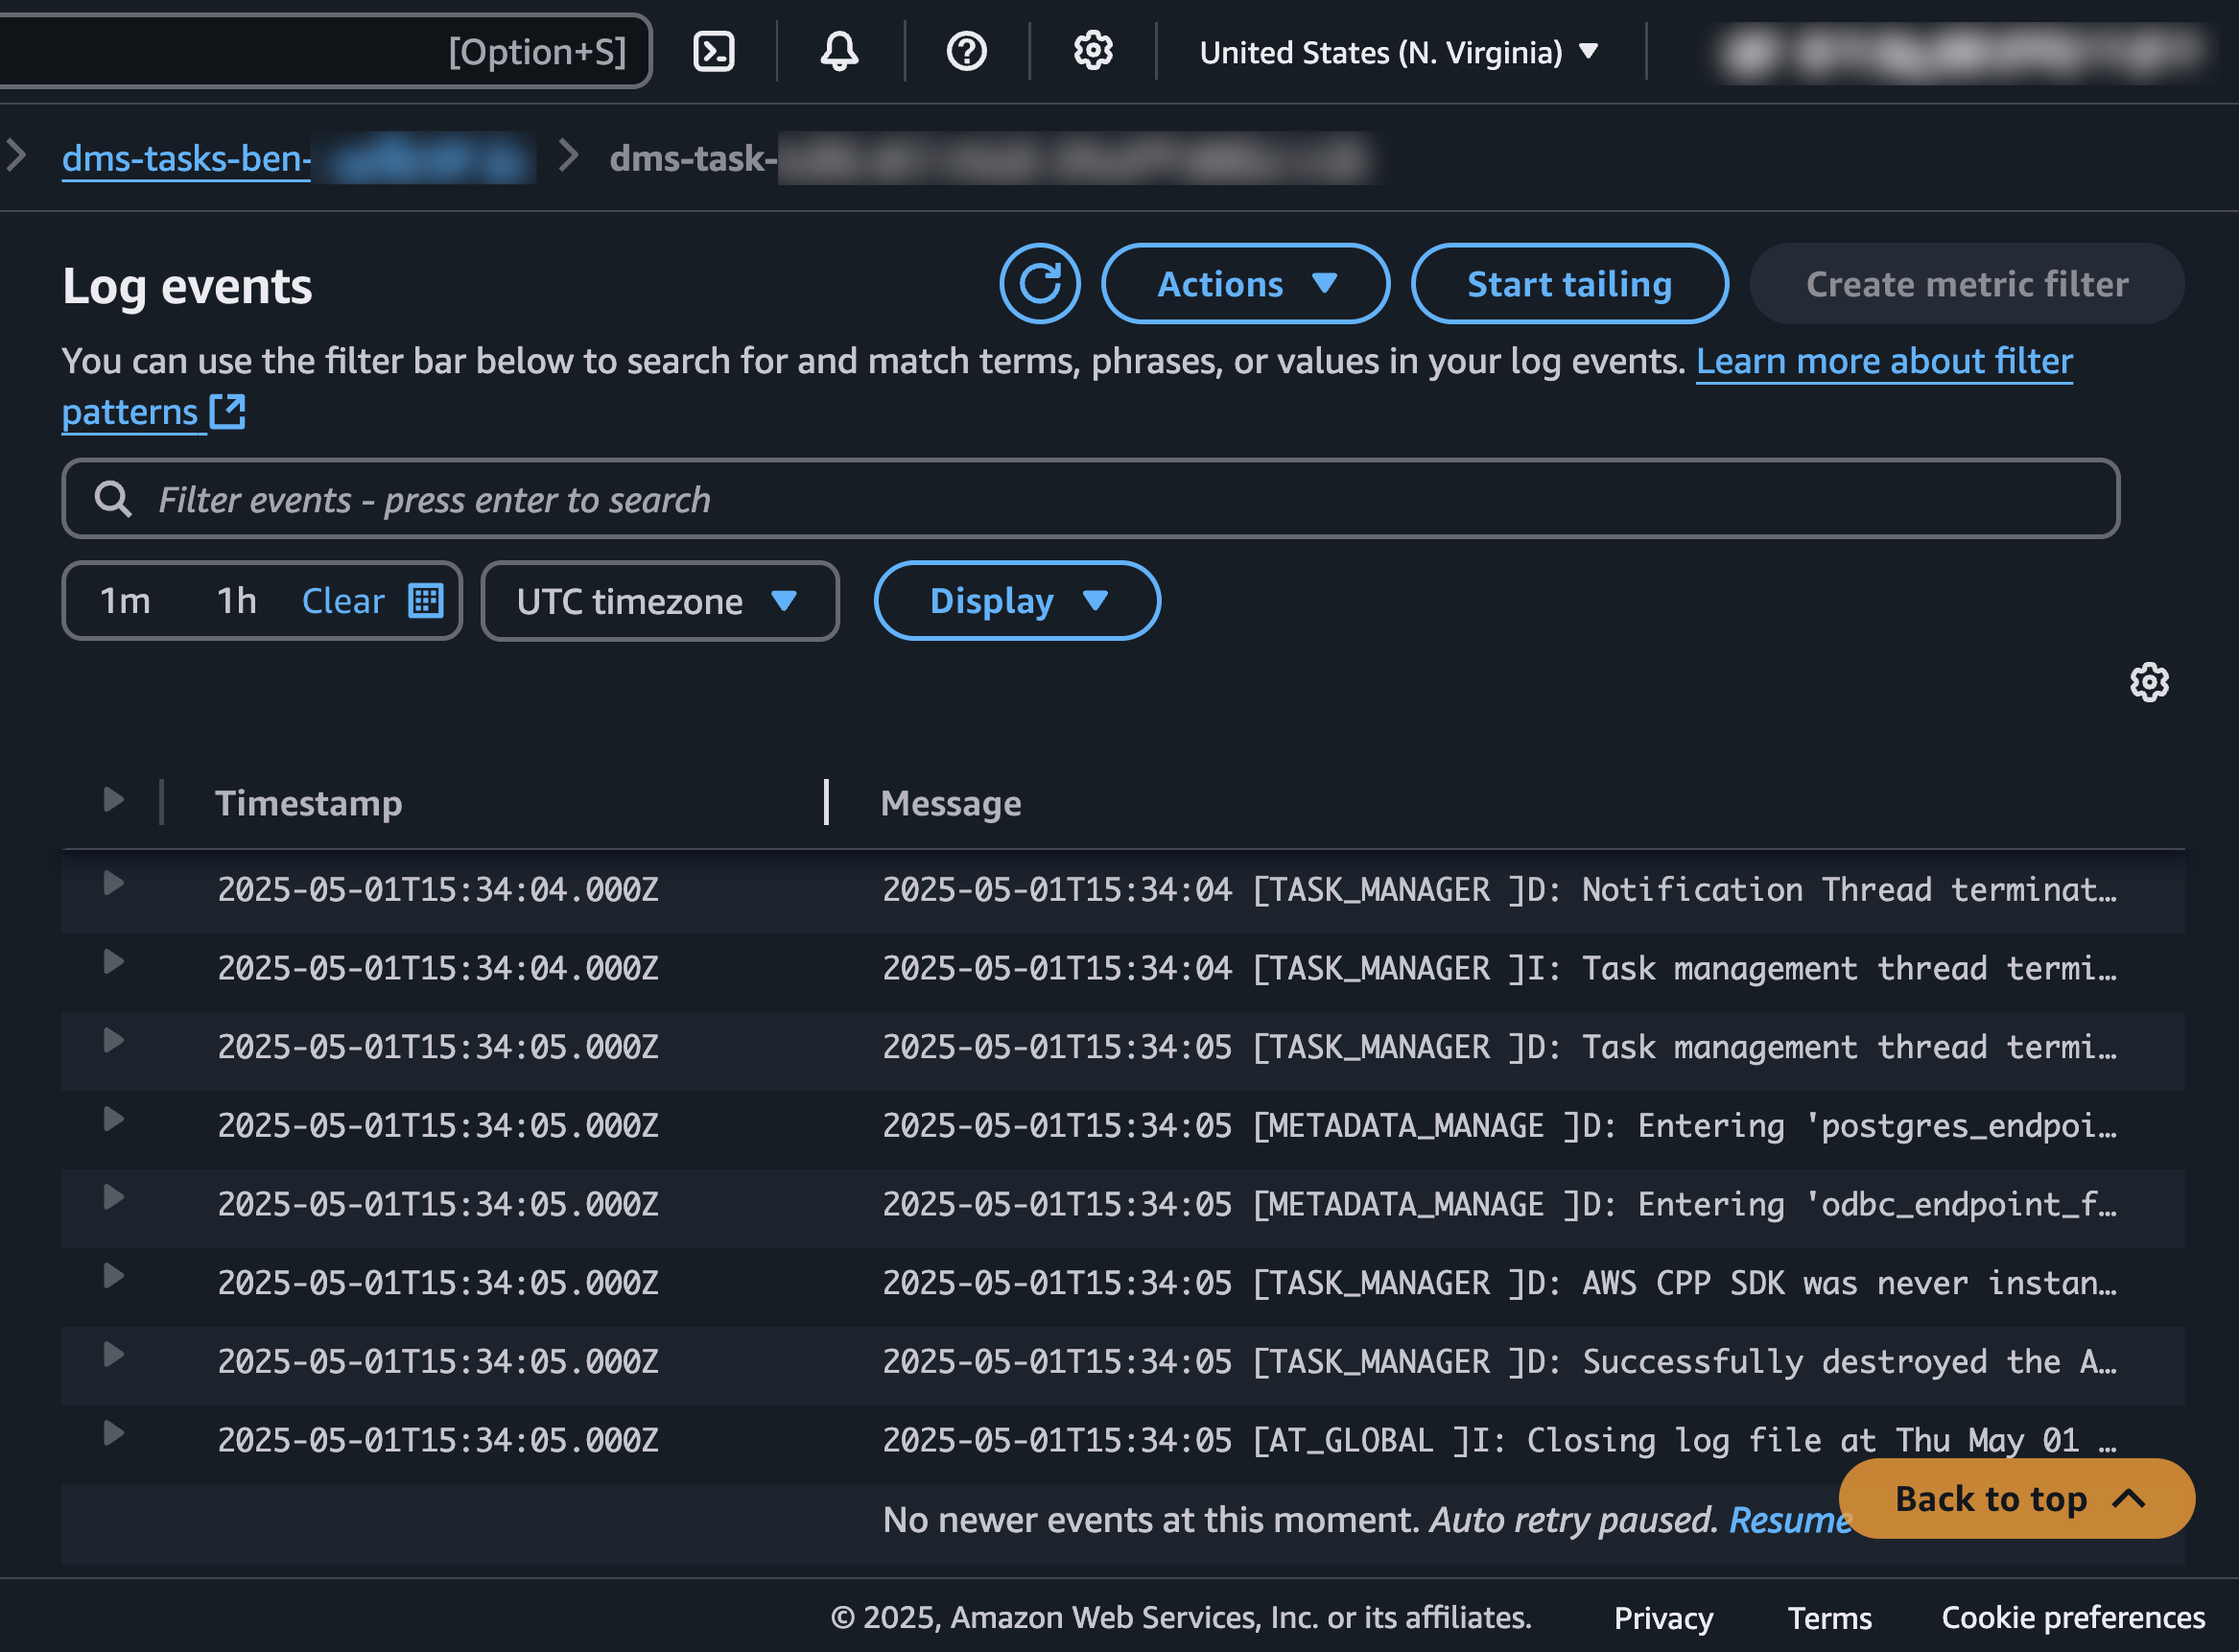
If the script is able to set up all of the resources without error but the import is not working, we recommend you take a look at the migration task logs.
You can view and search through these in the AWS web console.
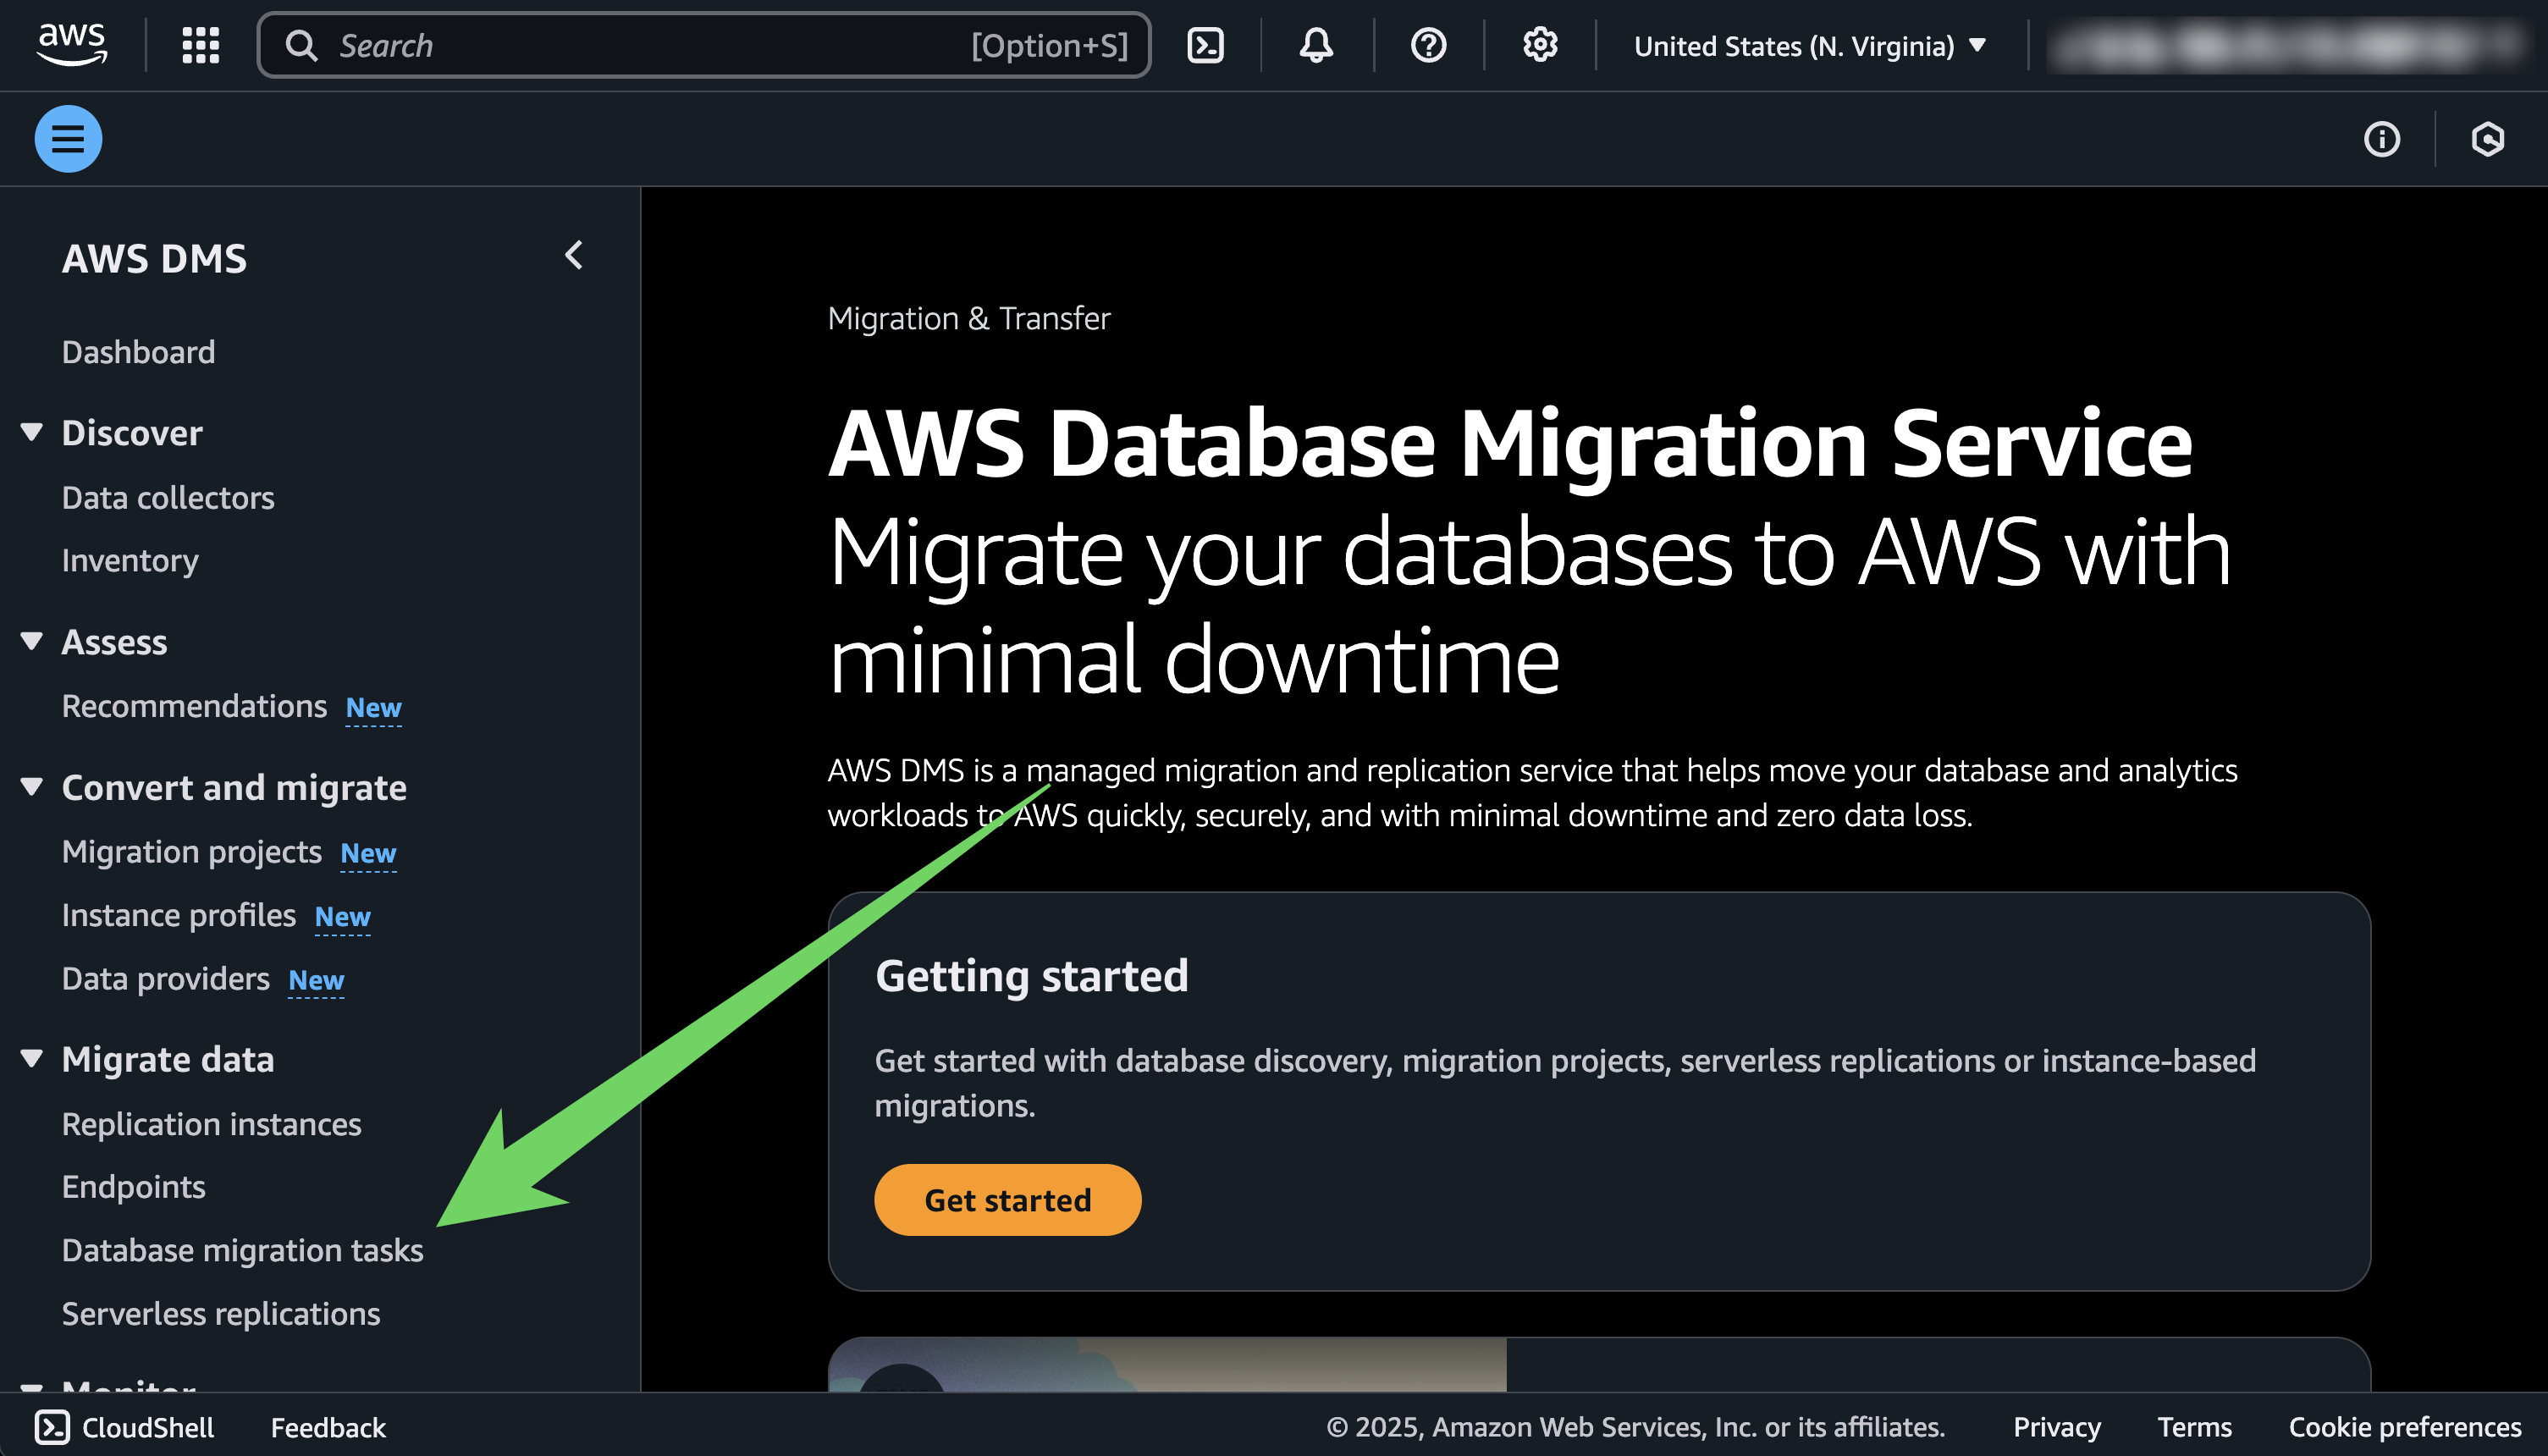
Log in to the web console, and go to the AWS DMS service page.
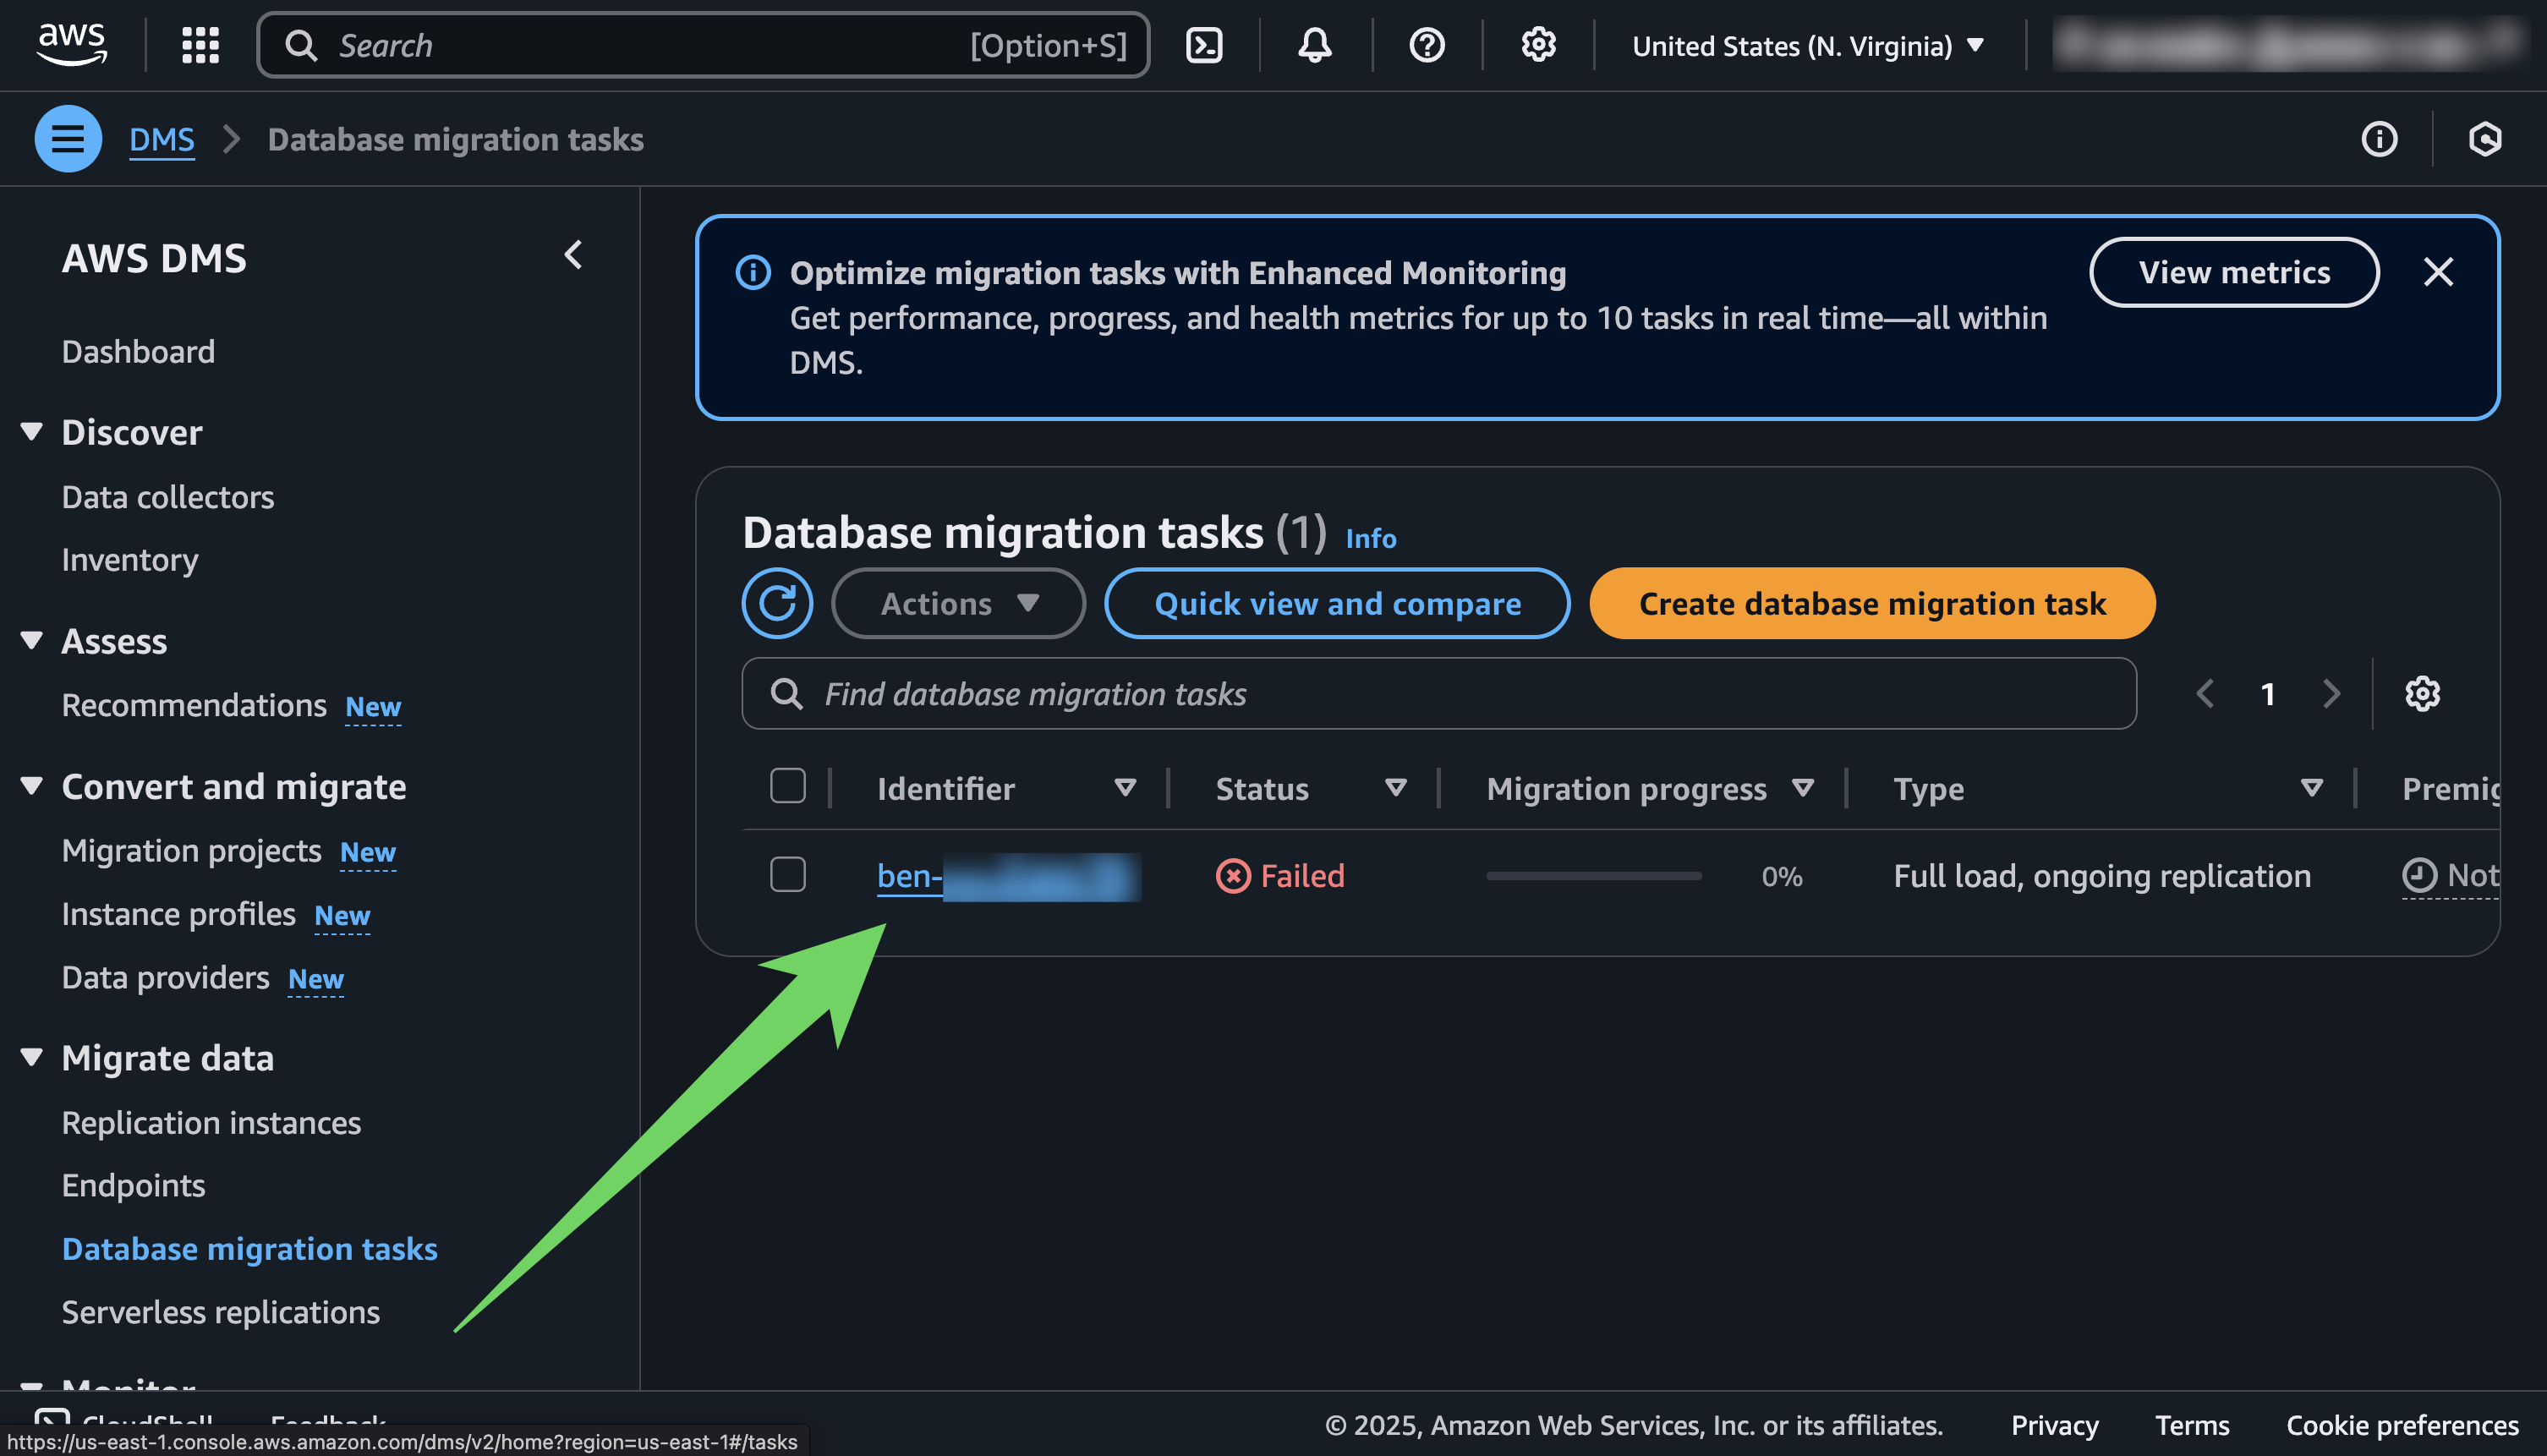
In the sidebar, click on “Database migration tasks.”
